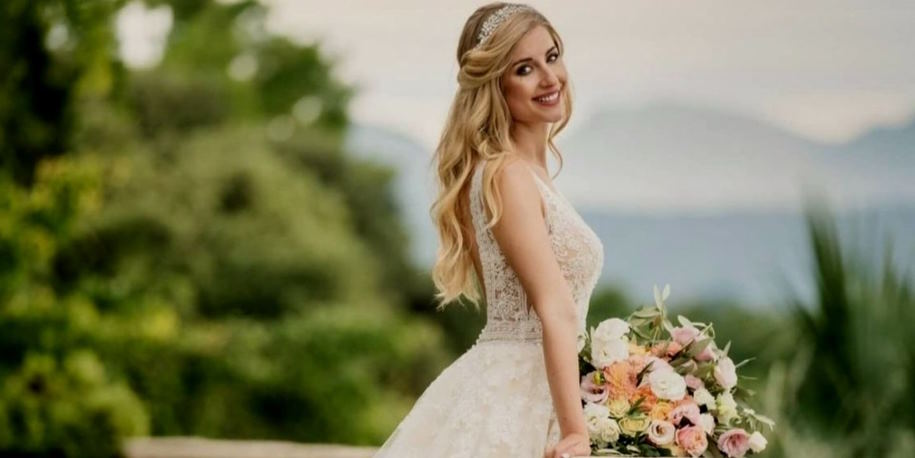
Whispy Curtain Bangs: Effortlessly Chic and Playfully Alluring Hairstyle Trend
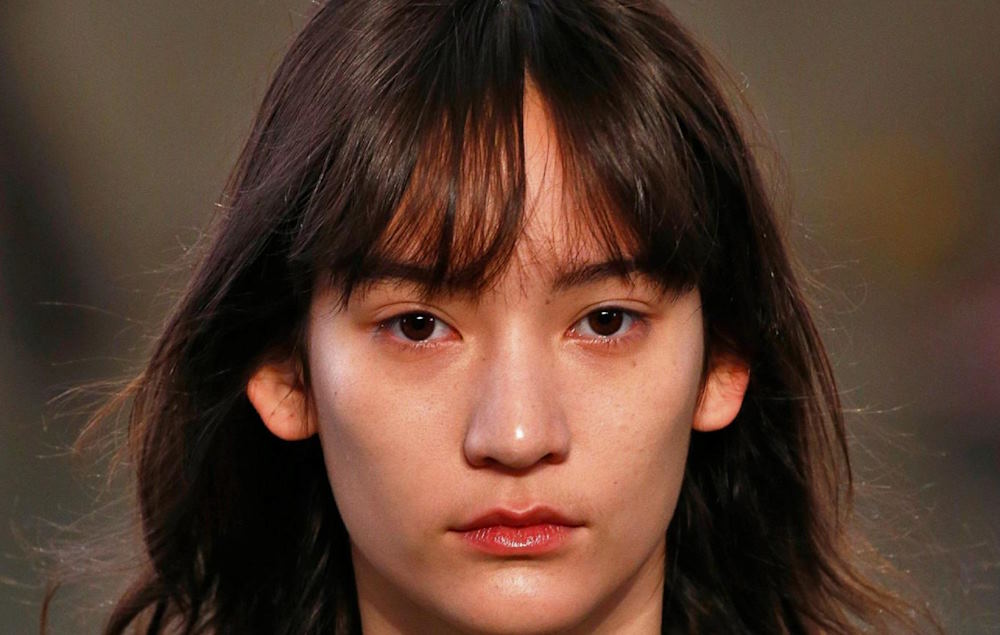
In the ever-evolving world of fashion and beauty, there emerges a hairstyle trend that captivates with its effortless charm and alluring playfulness - whispy curtain bangs. Gracefully framing the face like a delicate curtain, these wispy bangs have taken the hairdressing scene by storm, captivating hearts and heads alike. With their ability to suit a variety of hair types and face shapes, these versatile bangs add a touch of chic sophistication to any look, effortlessly exuding a carefree and flirtatious vibe. Join us as we delve into the captivating world of whispy curtain bangs, exploring their origins, styling tips, and why they have become the go-to choice for those seeking a timeless yet contemporary hairstyle that beautifully balances elegance and allure.